Selecting ice melt in Little Chute, base it on pavement temperature. Use calcium chloride in conditions down to −25°F and choose rock salt around 15-20°F. Apply treatment 1-2 hours prior to snow, then spot-treat after shoveling. Make sure to calibrate your spreader and maintain thin, even coverage to prevent runoff. Prevent chlorides on new or damaged concrete; consider using calcium magnesium acetate for sensitive surfaces. Safeguard pets safe with rounded, low-chloride blends and rinse entryways. Keep supplies sealed, dry, and chemically separated. Need specific guidance on dosages, timing, and sourcing?
Key Takeaways
- During winter in Little Chute, use calcium chloride when temperatures drop below zero and spread rock salt if the pavement reaches 15-20°F or warmer.
- Apply a minimal calcium chloride application 60-120 minutes ahead of snow to prevent bonding.
- Calibrate your spreader; apply roughly 1-3 ounces per square yard and add more only where ice persists after plowing.
- Shield concrete that's under one year old and landscaped borders; apply calcium magnesium acetate near delicate areas and prevent pellets from touching plants.
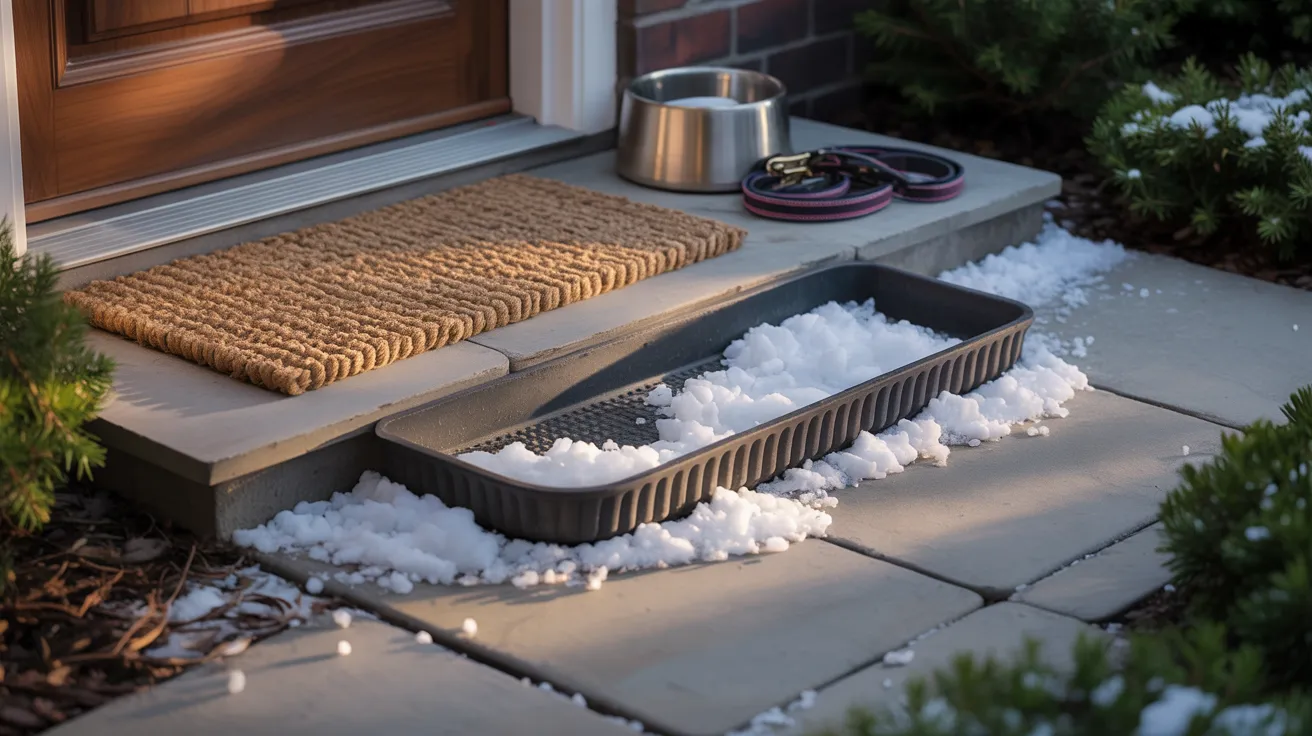
- Select pet-safe rounded granules and include sand for traction under the product, then brush remaining product back onto walkways to decrease runoff.
How Ice Melt Works on Snow and Ice
While it may appear straightforward, ice melt operates by lowering water's freezing point so that ice converts to liquid at lower temperatures. When you distribute melting agents, they break down into brine that penetrates the ice-snow connection. This brine disrupts the crystalline lattice, weakening bond strength and producing a lubricated barrier that enables you remove and shovel successfully. As thawing initiates, the process pulls latent heat from the environment, which can slow down progress in extreme cold, so apply thin, even application.
To achieve optimal results, remove loose snow before starting, then work on any compressed snow layers. Keep granules away from delicate areas and plants. Don't overapply, as excess salt increases runoff and refreeze risk when dilution raises the effective freezing point. Apply a small amount after removing ice to create a slip-resistant surface.
Choosing the Best De-Icer for Wisconsin's Climate
Now that you understand how de-icing solutions affect snow and ice, choose a de-icing option that works effectively at the weather conditions you encounter in Wisconsin. Align the product chemistry with expected weather patterns and foot traffic to maintain safe and efficient walkways.
Apply rock salt if pavement temps hover around 15-20°F and above. It's cost-effective and offers effective traction, but it slows dramatically below its practical limit. If cold weather drop toward zero, switch to calcium chloride. This product releases heat upon contact, begins melting at temperatures as low as -25°F, and acts rapidly for controlling refreeze.
Use a strategic blend: initialize with a minimal calcium chloride application ahead of storm events, followed by selectively apply rock salt for after-storm treatment. Properly adjust spreaders, strive for uniform, minimal coverage, and apply again only if required. Keep track of pavement temperature, rather than only air temperature.
Landscaping and Concrete: Pet Safety Guidelines
When targeting melt performance, protect concrete, plants, and pets by matching chemistry and application rates to site sensitivity. Confirm concrete curing age: stay away from chlorides on concrete less than 12 months old and on deteriorated or textured concrete. Prefer calcium magnesium acetate or potassium acetate around sensitive concrete surfaces; restrict sodium chloride where freeze-thaw cycling is severe. For landscaping, avoid spreading product on planted areas; employ barriers and redirect excess to paved surfaces. Choose products with minimal chloride levels and include sand for traction when temperatures fall under product efficacy.
Safeguard animal feet with rounded ice melt products and steer clear of exothermic pellets that elevate surface heat. Wash entryways to reduce residue. Encourage proper pet hydration to reduce salt consumption; provide protective footwear where possible. Keep de-icers securely contained, lifted, and inaccessible to pets.
Essential Tips for Efficient, Professional Results
Optimize your spreading technique for efficient melting and minimal cleanup: apply treatment before storms hit, set up your spreader correctly, and apply the recommended dose for the product and conditions. Coordinate pre-treatment with incoming storms: put down a thin preventive layer 1-2 hours before snow to block snow attachment. Spread granular material with a pattern that slightly overlaps edges without spreading onto landscaping or walkways. Check application rates with a catch test; target 1-3 oz per square yard for most salts above 15°F, reducing amounts for high-performance blends. Target specific refreeze zones-north exposures, downspouts, and shaded steps. After snow removal, add product only to exposed areas. Sweep up extra granules back into the active area to maintain safety, reduce material spread indoors, and prevent slip risks.
Best Practices for Storage, Handling, and Environmental Management
Place de-icers in airtight, marked containers in a temperature-controlled space away from incompatible substances and drainage areas. Handle products with protective gloves, safety goggles, and calibrated spreaders to minimize direct exposure, breathing dust, and excessive use. Protect vegetation and waterways by targeted application, excess removal, and selecting chloride-reduced or acetate-based options where applicable.
Proper Storage Conditions
While ice-melting salt seems low risk, store it like a controlled chemical: keep bags closed in a dry, covered area above floor level to prevent moisture uptake and hardening; maintain temperatures above freezing to reduce clumping, but separate from heat sources that can degrade packaging. Implement climate controlled storage to hold relative humidity below 50%. Apply humidity prevention strategies: moisture removers, vapor barriers, and secure door seals. Arrange pallets on racking, not concrete, and leave airflow gaps. Inspect packaging weekly for damage, crusting, or wet spots; rebag compromised material without delay. Keep apart different chemistries (NaCl, CaCl2, MgCl2) to prevent cross-contamination. Set up secondary containment to capture brine leaks. Keep storage at least 100 feet from wells, drains, and surface water. Mark inventory and rotate FIFO.
Safe Handling Protocols
Proper safety protocols start prior to opening containers. Be sure to confirm material identification and safety concerns by reviewing labels and Safety Data Sheets. Select appropriate PPE based on exposure risk: Select gloves based on the material properties (use nitrile with chlorides, neoprene when handling blends), factoring in cuff length and temperature ratings. Ensure you have eye protection, long sleeves, and appropriate boots. Keep the material away from skin and eyes; avoid facial contact while handling.
Always use a scoop instead of bare hands and maintain bag stability to prevent sudden spills. Position yourself upwind to reduce dust inhalation; using a simple dust mask assists during the pouring process. Sweep up minor spills and collect for future use; never wash salts down drains. Thoroughly clean hands and equipment when done. Store protective equipment in dry conditions, examine for signs of damage, and swap out degraded gloves right away.
Eco-Friendly Application Methods
With PPE and handling procedures in place, focus on optimizing salt usage and drainage. Calibrate a hand spreader to deliver 2-4 ounces per square yard; spot-treat high-risk zones first. Pre-treat before storms with a brine (23% NaCl) to decrease product consumption and enhance material retention. Select materials or mixtures with renewable sourcing and biodegradable packaging to cut lifecycle read more impacts. Store bags on pallets under cover, distant from drainage areas; use sealed bins with secondary containment. Maintain emergency response supplies; gather and repurpose scattered particles-don't hose surfaces. Keep 5-10 feet clearance from water sources, wellheads, and drains; install berms or socks to control drainage. After thaw, sweep residues. Record spreading rates, ground conditions, and effectiveness to adjust quantities and prevent waste.
Seasonal Shopping and Local Food Guide for Little Chute
Find local ice-melting salt suppliers in Little Chute from early fall through the first hard freeze to optimize cost, supply risk, and product quality. Focus on suppliers that provide chloride percentages, anti-caking agents, and sieve sizes. Obtain batch consistency and Safety Data Sheets. Make early purchases at hardware outlets, farmers markets, and community co ops to bypass surge pricing during storms. Assess bulk and bagged alternatives; calculate cost per pound and storage constraints.
Select ice melt products according to ground conditions and temperature: apply sodium chloride in mild winter conditions, calcium chloride or magnesium chloride in severe conditions, and enhanced mixtures to accelerate melting. Store sealed bags on pallets away from concrete and away from drains. Implement FIFO inventory rotation. Keep protective gear such as spill kits, gloves, and eye protection nearby. Record application rates by storm to manage restock quantities.
FAQ
How Long Does Opened Ice Melt Stay Effective?
Used ice melt generally stays effective 1-3 years. You can maximize longevity if you control storage conditions: maintain it in a sealed, cool, and dry environment to prevent moisture uptake and clumping. These compounds draw in moisture, accelerating chemical breakdown and diminished melting capability. Stay away from temperature extremes, direct sunlight, and contamination with dirt or organic material. Use airtight containers or reseal bags properly. If it becomes clumpy or develops brine, check effectiveness in a small spot and replace when required.
Is Mixing Season Blends From Multiple Brands Safe?
Yes, you can mix leftover blends, but verify chemical compatibility first. Read the packaging to avoid combining calcium chloride with sand-mixed or urea formulations that clump or react. Maintain dry conditions to stop temperature-related solidification. Test a small batch in a dry container. Align application schedule with temperature ranges: use calcium chloride for subzero, magnesium mixtures in mild winter conditions, sodium chloride above 15°F. Maintain the blend in an airtight, marked container away from metallic materials and areas vulnerable to concrete damage. Use protective gloves and safety glasses.
How Do I Keep Winter Salt Off My Home's Flooring
Place two mats - one outside for entry and an absorbent one inside; place shoes in a designated boot tray. Promptly vacuum any scattered granules and clean remaining residue with a neutral pH cleaner to prevent etching. Seal porous flooring. Install rubber stair treads and brush boots before entry. Example: A duplex owner cut salt tracking 90% by adding a textured entry mat, a textured boot tray, and a weekly cleaning regimen. Place melting agents away from indoor spaces.
What Local Municipality Rebates and Bulk Discounts Are Available?
Indeed. Numerous local governments provide group buying options and government rebates for de-icing materials. Applications are usually submitted through government procurement systems, including quantities, SDS, and intended use. Check qualification requirements for property owners, community groups, or business operations, and verify transportation details and safe storage protocols. Compare per-ton pricing, chloride content, and corrosion inhibitors. Inquire regarding usage limits, ordering deadlines, and refund policies. Keep records of application and save documentation to meet audit requirements and maintain environmental compliance.
What Emergency Alternatives Work if Stores Run Out During Storms?
When stores run low on ice melt, there are still effective alternatives - safety is paramount. Spread sand for better grip, position sandbags to direct water flow, and apply coarse materials like gravel or cat litter. Mix equal parts rubbing alcohol and water to dissolve icy buildup; clear immediately. Use dehumidifier calcium chloride if accessible. Place warming mats at entry points; keep clearing snow gradually. Put on anti-slip footwear, indicate hazardous zones, and provide adequate airflow during alcohol application. Inspect drain areas to avoid ice buildup problems.
Conclusion
You understand how ice melt controls wetness, decreases melt-refreeze, and preserves traction. Align de-icer chemistry to Wisconsin's winter, safeguard concrete, plants, and pets, and use precise application techniques. Clear leftover material, keep properly contained, and opt for environmental solutions to safeguard soil and stormwater. Buy from Little Chute suppliers for reliable inventory and cost efficiency. With careful choice, precise distribution, and reliable storage, you'll preserve accessible routes-secure, moisture-free, and protected-through sequences of harsh winter conditions. Security, care, and management work together.